서론
오늘은 Spring Boot 환경에서 MySQL과 MyBatis 설정을 하는 방법에 관해서 알아보도록 하겠습니다.
목차
- MySQL 설치방법
- Spring Boot에서 MySQL 설정하기
- Spring Boot에서 MyBatis 설정하기
본론
MySQL 설치방법
Mac을 사용한다면, 간단하게 brew로 mysql을 설치해줍니다.
brew install mysql버젼도 확인해봅니다.
mysql -V서버도 실행해봅니다.
mysql.server start그리고 MySQL 초기 설정을 해줍니다. 비밀번호, 익명유저, root 접속 권한 등을 설정해줍니다.
mysql_secure_installation그런 뒤, 접속해줍니다.
mysql -u root -p다시 mysql 서버를 실행하고 설정을 켜줍니다.
Spring Boot에서 MySQL 설정하기
Spring Boot가 이미 설정되어 있다는 상태를 가정하겠습니다. MySQL 설정을 위한 라이브러리는 어떻게 검색할 수 있을까요? https://mvnrepository.com/에서 확인할 수 있습니다.
해당 사이트에서 mysql 검색 후, 최상단으로 나오는 MySQL Connector/J를 찾아줍니다.
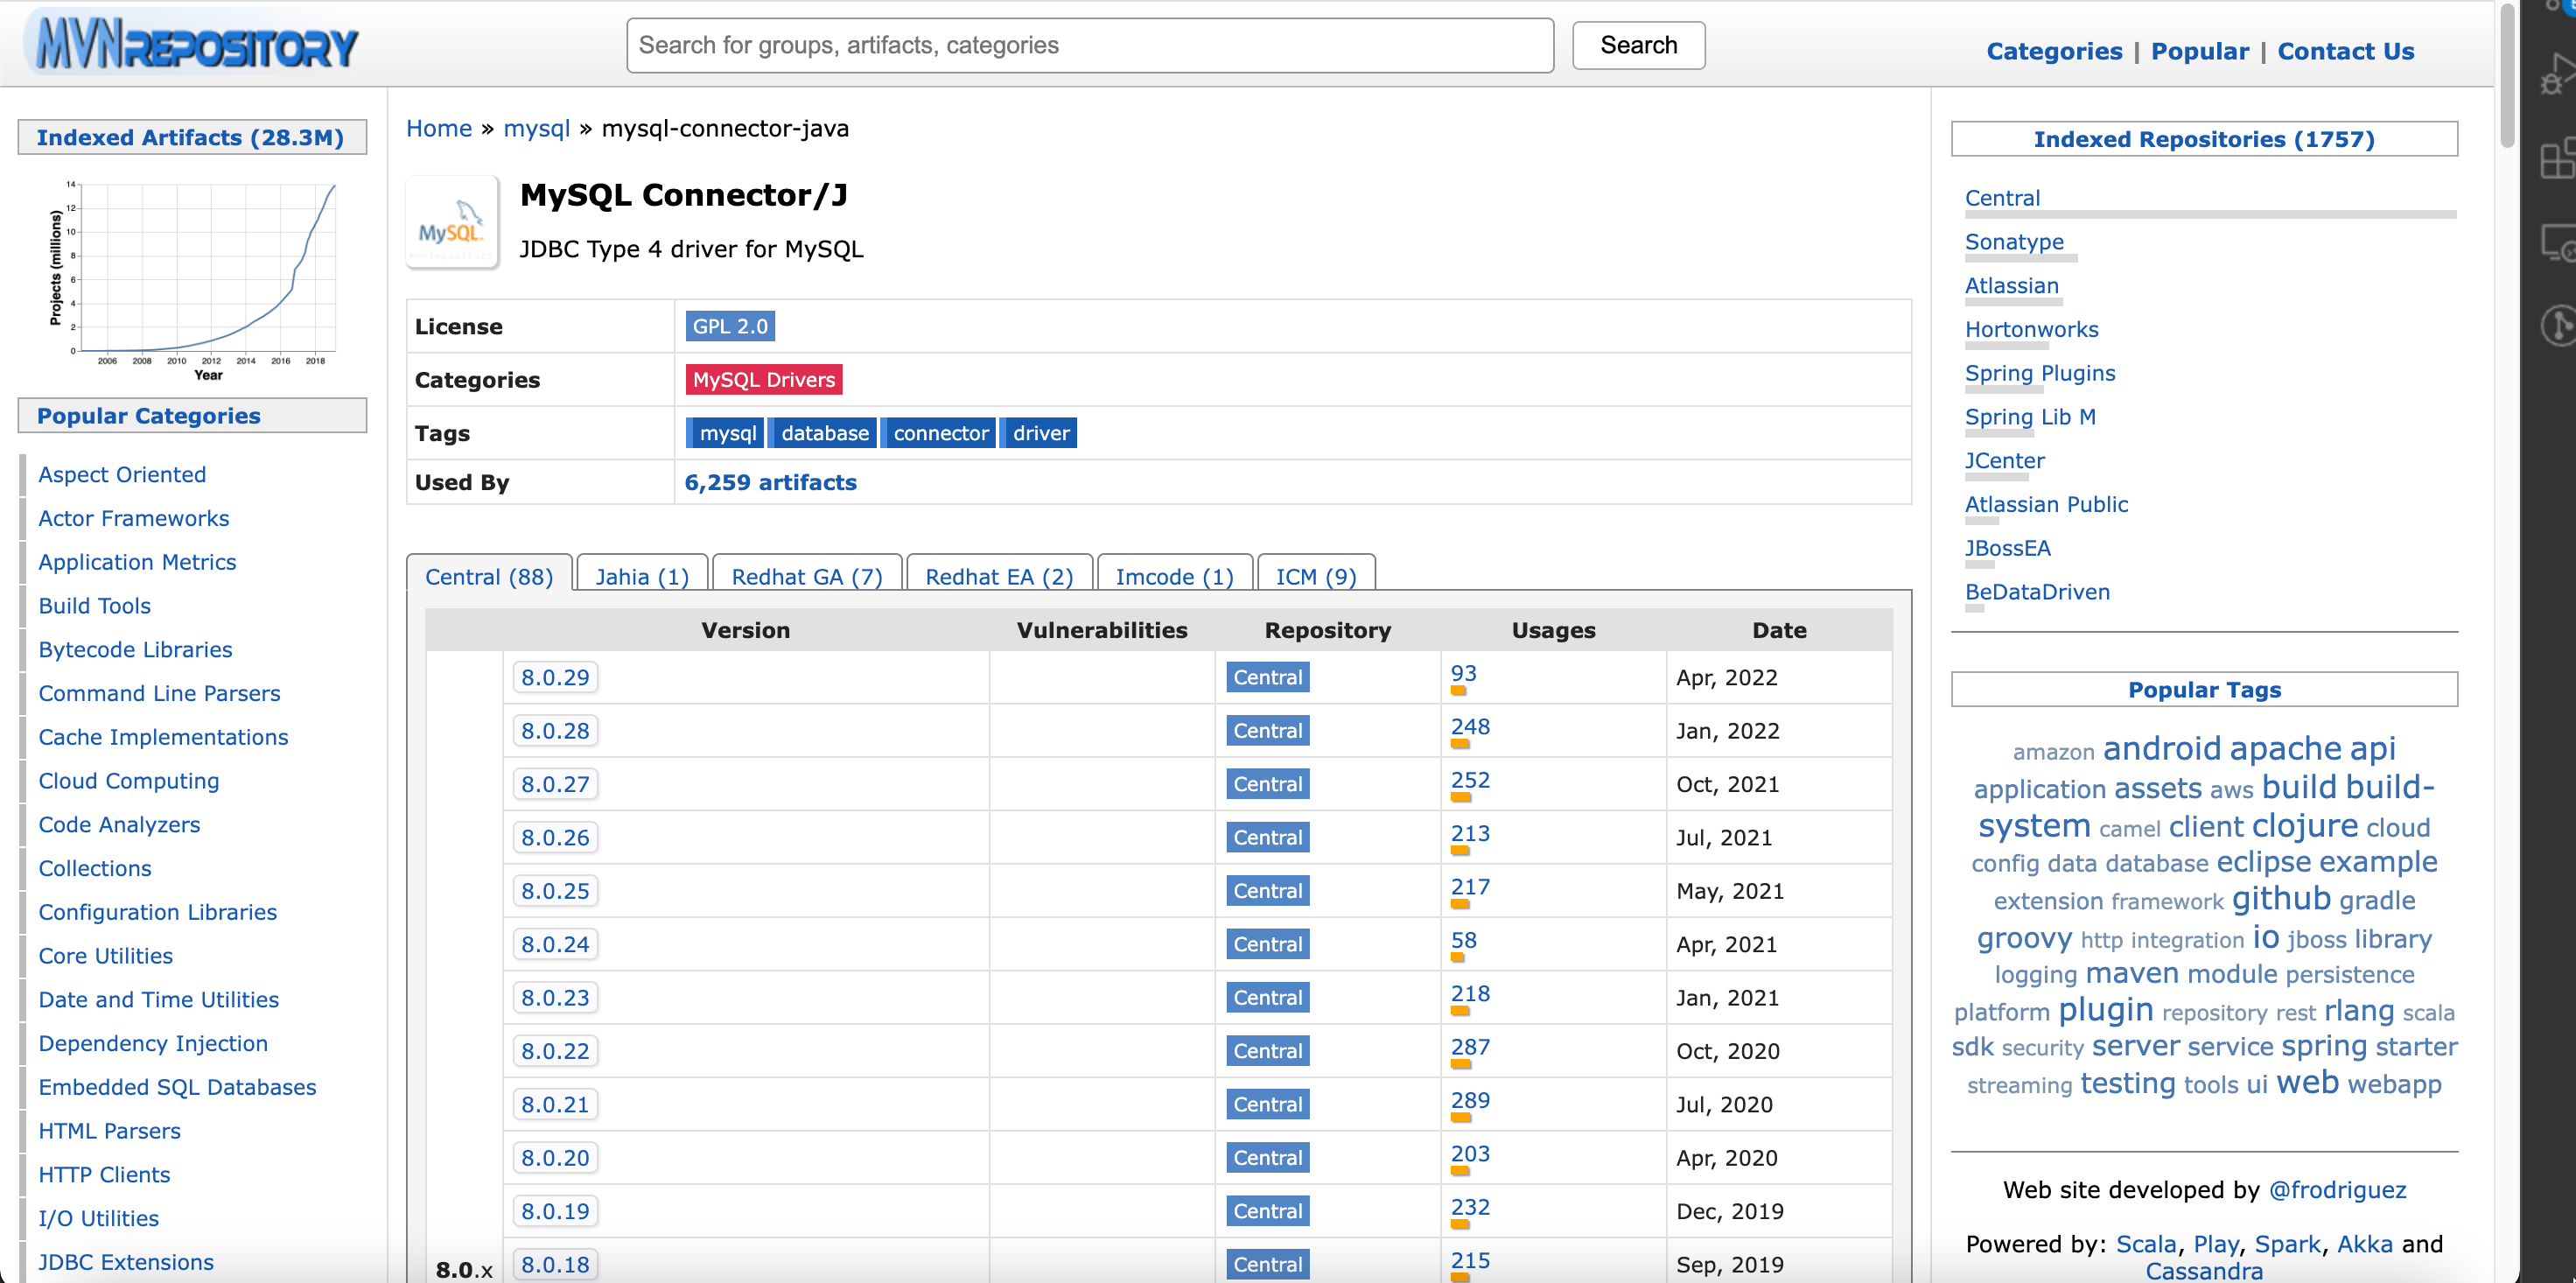
그리고 작성일 기준(2022/06/04)에서 가장 빠른 일자를 선택하고, 사용하는 빌드툴을 눌러줍니다. 저는 gradle을 사용하고 있으므로 gradle 정보를 불러왔습니다.
implementation group: 'mysql', name: 'mysql-connector-java', version: '8.0.29'그리고 builid.gradle 파일에서 아래와 같이 추가해줍니다.
dependencies {
  implementation group: 'mysql', name: 'mysql-connector-java', version: '8.0.29'
}
Spring Boot에서 MyBatis 설정하기
마찬가지 방법으로 MyBatis 설정해주겠습니다. mybatis spring boot 검색 후, 최상단으로 나오는 MyBatis Spring Boot Starter를 선택합니다. 가장 최신 버젼은 2.2.2 버젼을 선택하고 build.gradle 파일에 추가해줍니다.
implementation group: 'org.mybatis.spring.boot', name: 'mybatis-spring-boot-starter', version: '2.2.2'아래와 같이 말이죠.
dependencies {
      implementation group: 'org.mybatis.spring.boot', name: 'mybatis-spring-boot-starter', version: '2.2.2'
}
추가로 DB 설정을 위해, application.properties 파일에 아래와 같이 정보를 추가해줍니다.
spring.datasource.url=jdbc:mysql://localhost:3306/[데이터베이스명]?useUnicode=true&characterEncoding=utf8&serverTimezone=Asia/Seoul
spring.datasource.username=[데이터베이스 관리자 이름]
spring.datasource.password=[데이터베이스 비밀번호]
그러면, 이걸로 Spring Boot에서 MyBatis를 사용할 수 있는 준비는 모두 끝났습니다!
코드작성
아래와 같이, id, name, phone, address를 갖는 UserProfile이란 클래스가 있다고 하죠. 이 유저 정보를 MyBatis로 생성/조회/삭제/수정하는 로직을 작성해도록 하겠습니다.
package com.example.demo.model;

public class UserProfile {
    private String id;
    private String name;
    private String phone;
    private String address;

    public UserProfile(){}
    public UserProfile(String id, String name, String phone, String address) {
        this.id = id;
        this.name = name;
        this.phone = phone;
        this.address = address;
    }

    public String getId() {
        return id;
    }

    public void setId(String id) {
        this.id = id;
    }

    public String getName() {
        return name;
    }

    public void setName(String name) {
        this.name = name;
    }

    public String getPhone() {
        return phone;
    }

    public void setPhone(String phone) {
        this.phone = phone;
    }

    public String getAddress() {
        return address;
    }

    public void setAddress(String address) {
        this.address = address;
    }

}
간단하게 아래와 같이, SQL을 작성해줄 수 있습니다.
package com.example.demo.mapper;

import com.example.demo.model.UserProfile;
import org.apache.ibatis.annotations.*;

import java.util.List;

@Mapper
public interface UserProfileMapper {
    @Select("SELECT * FROM UserProfile WHERE id=#{id}")
    UserProfile getUserprofile(@Param("id") String id);

    @Select("SELECT * FROM UserProfile")
    List<UserProfile> getUserProfileList();

    @Update("UPDATE UserProfile SET name=#{name}, phone=#{phone}, address=#{address} WHERE id=#{id}")
    int updateUserProfile(@Param("id") String id, @Param("name") String name, @Param("phone") String phone, @Param("address") String address);

    @Insert("INSERT INTO UserProfile VALUES(#{id}, #{name}, #{phone}, #{address})")
    int insertUserProfile(@Param("id") String id, @Param("name") String name, @Param("phone") String phone, @Param("address") String address);

    @Delete("DELETE FROM UserProfile WHERE id=#{id}")
    int deleteUserProfile(@Param("id") String id);
}
작성한 SQL 문을 아래에서처럼 간단하게 Controller에 등록해, 처리해줄 수 있습니다.
package com.example.demo.controller;

import com.example.demo.mapper.UserProfileMapper;
import com.example.demo.model.UserProfile;
import org.springframework.web.bind.annotation.*;

import java.util.List;

@RestController
public class UserProfileController {

    private UserProfileMapper mapper;
    public UserProfileController(UserProfileMapper mapper){
        this.mapper = mapper;
    }

    @GetMapping("/users/{id}")
    public UserProfile getUserprofile(@PathVariable("id") String id){
        return mapper.getUserprofile(id);
    }

    @GetMapping("/users")
    public List<UserProfile> getUserProfileList(){
        return mapper.getUserProfileList();
    }

    @PostMapping(value = "/users")
    public void createUserProfile(@RequestBody UserProfile profile){
        mapper.insertUserProfile(profile.getId(), profile.getName(), profile.getPhone(), profile.getAddress());
    }

    @PutMapping("/users/{id}")
    public void updateUserProfile(@PathVariable("id") String id, @RequestParam("name") String name, @RequestParam("phone") String phone, @RequestParam("address") String address){
        mapper.updateUserProfile(id, name, phone, address);
    }

    @DeleteMapping("/users/{id}")
    public void deleteUserProfile(@PathVariable("id") String id){
        mapper.deleteUserProfile(id);
    }
}
마무리
이것으로 간단하게, MySQL과 MyBatis 설정하는 방법과 간단한 SQL 문으로 데이터를 조작하는 방법에 대해서 알아보았습니다. 오늘도 읽어주셔서 감사합니다.